We charge Zero Fee, but ask you donate towards the use of this motorcycle. Typically $80 for a session.
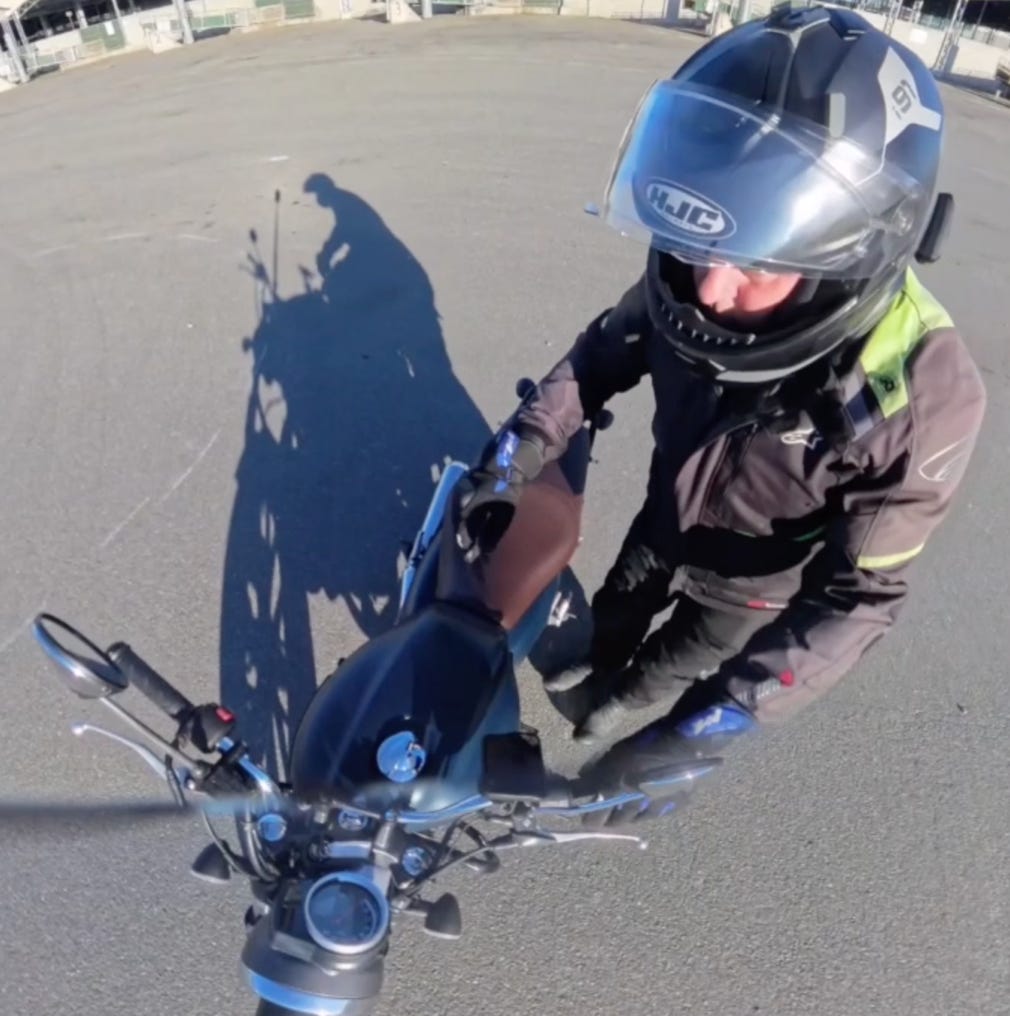
We do provide personal safety equipment, But as our service is low cost we invite you to go to your local motorcycle shop and buy some cost effective gear today, think of it as your future spare helmet and gloves for the future =)
No open toe shoes, no shorts, wear a jacket or thick jersey at minimum.
We change locations as needed around christchurch but primarily use the A&P show grounds on the weekends. Can do weekdays by arrangement.
We also expect some Q&A time before touching a motorcycle as you are expected to understand the anatomy of a motorcycle by reading knowledge-base article https://www.motoagenthelper.com/motorcycle-absolute-basics before any help is provided.
We welcome any rider to go to a certified NZTA motorcycle training school and you should book a session with one.
What we are offering is an effective preparatory service for absolute beginners to gain seat time and we have the add-value resource of the Moto Agent Helper website content to help with learners before riding and after learning to ride sessions no matter who you learn to ride with (dad, riding school etc) this service still aims to help.
We feel the alternative for new riders to not attend any basic rider education to avoid some costs at the early stages of learning to ride a motorcycle is a recipe for disaster.
We are not a NZTA certified service, we don’t do any licence assessments, you will be given a referral to a riding school to complete any licencing items or advance riding education.
Christchurch NZ - Learn to ride service
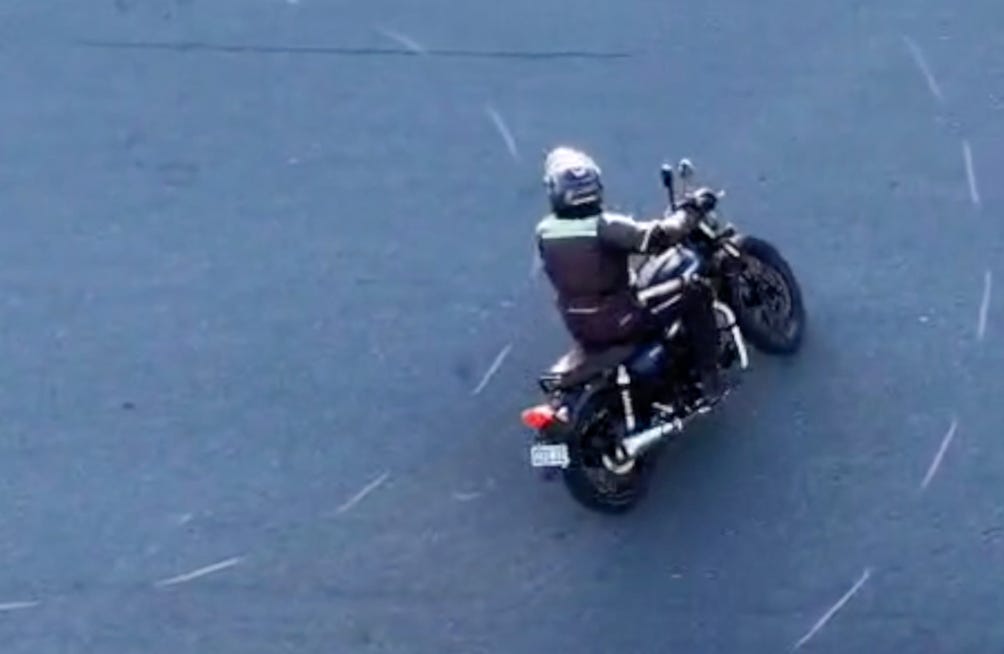
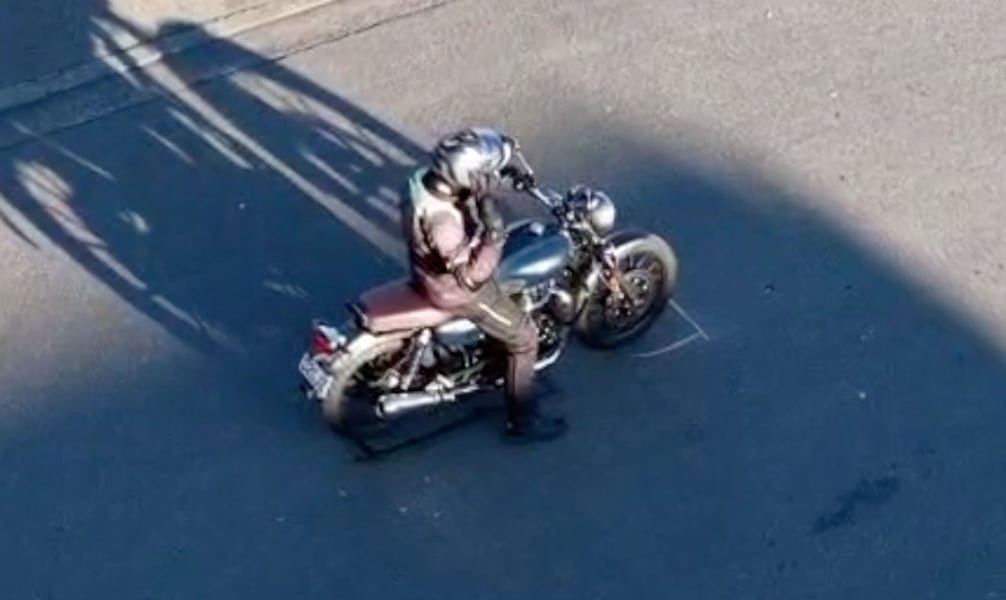
Luke from Moto Agent Helper has a learner prepared motorcycle for assisting you to learn how to ride.
We carry some minor first aid items like bandaids but we expect safety gear worn to prevent minor abrasions.
If you somehow manage to not follow clear instruction and severely damage the motorcycle (and possibly injure yourself in the process) you will be expected to contribute to the repair bill once the dust settles.
The thought of hurting yourself and others is not a positive thought but we have to be very clear on this topic as this is a moving vehicle and requires your full attention to the assistance provided so you are in control and not chancing anything.
You will sign our provided waiver document at the time of visit.
As we do not have a “i” class licence (Training endorsement Licence) we cannot charge for our time, but we would appreciate a donation for using the motorcycle.